
Sand tiles and fine stoneware edges
Sanding tile and fine stoneware edges - tips & tricks to do it yourself
When laying tiles, clean processing is part of it. This applies to tile edges when laying tiles and especially when attaching visible edges.

Table of contents
- Why do tile edges have to be sanded?
- Tiles cut edges visible?
- The different ways of sanding tile edges
- Application table diamond abrasives / grinding pads for grinding tile surfaces and edges
- Grind the edges of tiles with the angle grinder and diamond grinding pads
- Sand tile edges with the hand sanding pad / diamond sanding block
Why do tile edges have to be sanded?
During the manufacture, processing, transport or cutting of tiles, irregularities in the external area are more common.
These are not nice to look at and can be faulted in most cases.
Chips, Bumps, Irregularities, Above Average Roughness or Sharp Tiles - Edges must be sanded.
Tiles cut edges visible?
Especially with tiles, an irregular profile is a huge disruptive factor. Therefore, these must be properly blinded. If there are visible edges, they must be sanded down.
The different ways to sand tile edges - which sandpaper and abrasive are suitable?
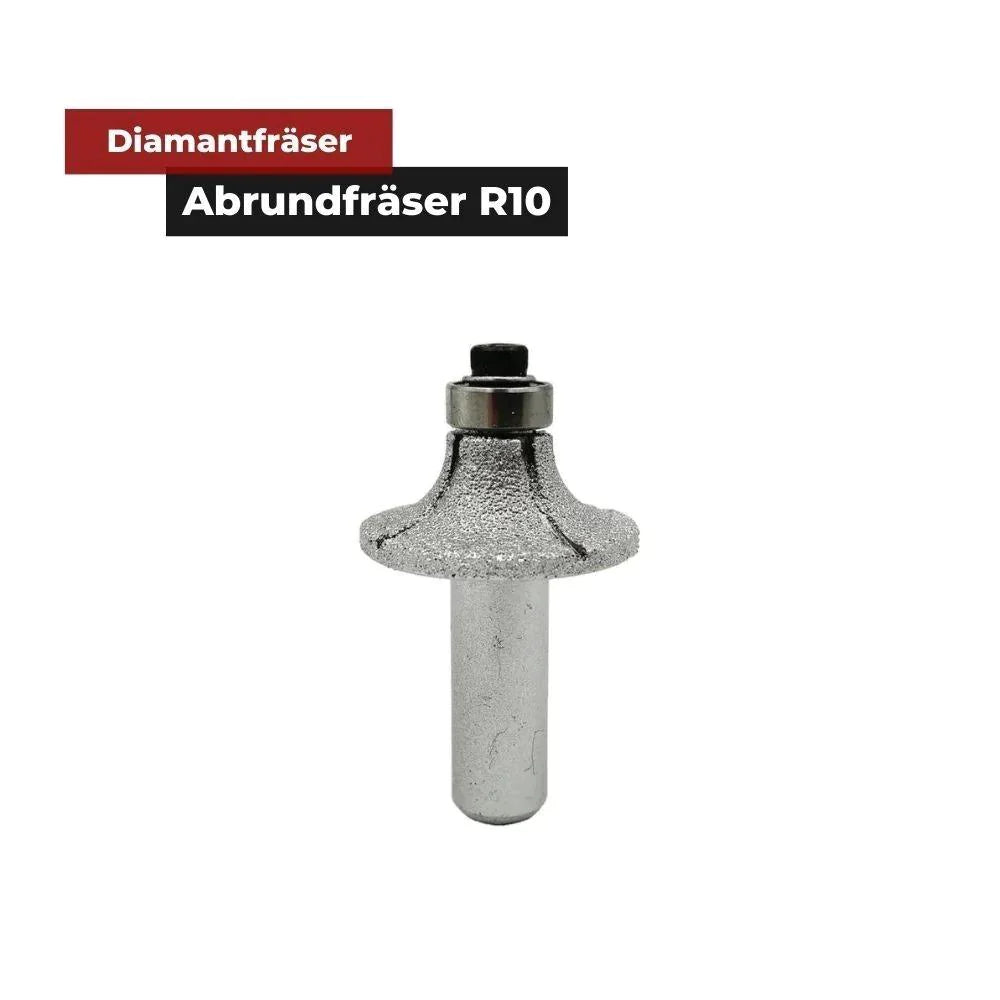
- Tiles and fine stoneware are most often sanded with an angle grinder and the appropriate tool.
- Another popular way is to sharpen by hand with a diamond block.
- For regular grinding work of this type, mechanical use is recommended.
Other helpful guides
Application table diamond abrasives / grinding pads for grinding tile surfaces and edges
The #50 and #200 are most commonly used for sanding tile edges.
|
50 grit |
Cleaning and renovation sanding |
|
100 grit |
Extended cleaning and renovation sanding |
|
200 grit |
Basic cut (without scratches) |
|
400 grit |
Preparation polish |
|
800 grit |
polish |
|
1500 grit |
Preparation high gloss polish |
|
3000 grit |
Mirror Polish Enhanced |

Grind the edges of tiles with the angle grinder and diamond grinding pads
With this method you can "clean" your edges or polish them to a high gloss. You should therefore be aware of the goals you want to achieve.
The application is the same, but the tool to use is different.
You need the following tools and machines:
- Diamond grinding pad of your choice (depending on the application)
- Velcro recording plate. More flexible or more static.
- Cordless or cordless angle grinder
Step-by-step instructions for grinding tile edges
Follow the steps below to get a good result.
-
Prepare tools and tiles. Ideally on a trestle where you can easily let the tile overhang.
-
Remove coarse dirt from the tile, especially semi-loose material in the edge area.
-
Attach the mounting plate to the angle grinder and attach the desired diamond grinding pad to the center of the Velcro area.
-
Set the number of revolutions correctly. With hard materials such as fine stoneware, you can work in the medium and high speed range. In the case of sensitive or soft tiles, it is advisable to approach them slowly. Best with a leftover piece of tile.
-
Sand evenly from beginning to end of the tile edge to get an even result.
- Continue working with the appropriate grits until you have the desired finish/polish.
Round off tile edges
In order to be able to round off tile edges during the sanding process, it is necessary to work carefully. With a slight turning movement, you should be able to round off the tile edges accordingly.
It is best to start at the top of the tile edge and grind your curve to the desired degree (angle).
Sand tile edges with the hand sanding pad / diamond sanding block
With this method you free your tile edges from excess material without using machines. Especially recommended for smaller tile repairs.
The diamond sanding block is also available in different grits. #50 grit, #100 grit, #200 grit.

Step by step guide
Follow the steps below to get a good result.
-
Remove coarse dirt from the tile, especially semi-loose material in the edge area.
-
Work the edge area from top to bottom with the diamond sanding block.
- Continue this process evenly until you get the desired result.
- Feel free to read more information in the guide: Sanding tiles .
If you have any questions about this topic, we are at your disposal!
Products from this post
- Diamond polishing disc 125 mm for the angle grinder
- Angle grinder accessory mounting plate with Velcro surface
- Diamond grinding block for manual grinding
