
Fastening mirrors: with and without drilling - detailed instructions
Installing mirrors made easy – tips and tricks for moving in and renovating
In this article you will find out everything you need to know in order to attach a mirror to the wall safely and easily - with and without drilling.
We will show you step by step which materials and tools you need, which methods are suitable for which surfaces and how to professionally attach a mirror.

1. Materials and Tools
Before you start attaching your mirror, make sure you have all the materials and tools you need on hand:
- Mirror
- Tape measure or folding rule
- level
- Pencil
- Drill and suitable drill bits (for fastening with drilling)
- Dowels and screws (for fastening with drilling)
- Mounting adhesive or double-sided adhesive tape (when mounting without drilling)
- Detergent and cloth (for cleaning the back of the mirror)
1.1 Cost Overview of Materials
| material/tool | cost (approx.) |
|---|---|
| Tape measure or folding rule | €5-15 |
| level | 10-40€ |
| drill | €5 - €20 |
| dowels and screws | €5-15 |
| Mounting glue or double-sided tape | 10-20€ |
| detergent and cloth | 5-20€ |
2. Fasten the mirror with drilling
Fixing a mirror with drilling is the classic method and offers a particularly stable and durable solution.
Our experience: If you have the time you need, it is better to attach the mirror with screws and dowels. Especially if it is your own home.
Here's how you do it:
-
Set position:
Determine the desired position of the mirror on the wall and mark the corners with a pencil.
-
Mark drill holes:
Measure the distance between the mounting points on the mirror and transfer these measurements to the wall. Use a spirit level to check that the marks are level. -
Drill holes:
Drill holes in the wall at the markings. Be sure to use the correct drill bit for the type of wall (e.g., stone, concrete, or drywall). -
Insert dowels:
Insert the appropriate dowels into the drilled holes. -
hang mirror:
Attach the mirror to the dowels with the screws. Make sure the mirror is secure and doesn't wobble.
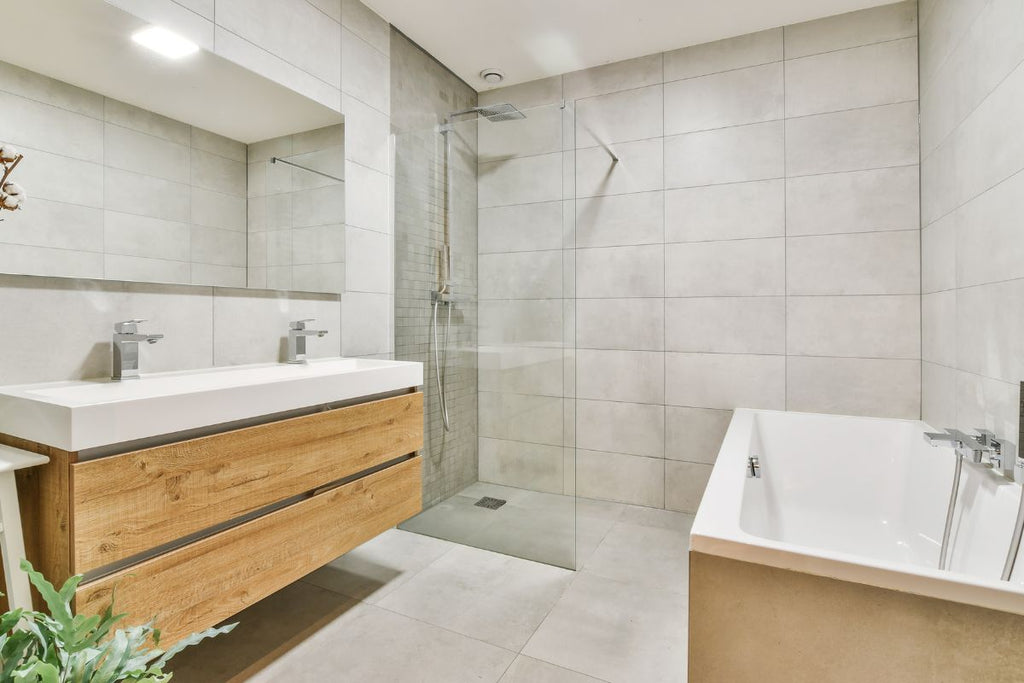
2.1 Fix the mirror in the bathroom by drilling
Fixing a mirror in the bathroom is basically similar to fixing it in any other room, however there are some specifics to consider, especially when there are tiles on the wall .
Here is a specific guide for fixing a bathroom mirror with drilling:
-
Set position:
Determine the desired position of the mirror on the wall and mark the corners with a pencil. -
Mark drill holes:
Measure the distance between the mounting points on the mirror and transfer these measurements to the wall. Use a spirit level to check that the marks are level. -
Use diamond burs:
Since tiles are often very hard, it is advisable to use a diamond drill bit for the drill holes. This is especially suitable for drilling in hard materials such as tiles, granite or marble. -
Drill holes:
First, place the diamond drill bit at a slight angle (about 45 degrees) on the tile at the mark. Start drilling slowly, gradually raising the drill until it is perpendicular to the tile. This technique prevents the drill bit from slipping and scratching the tile. -
Insert dowels:
Insert the appropriate dowels into the drilled holes. -
hang mirror:
Attach the mirror to the dowels with the screws. Make sure the mirror is secure and doesn't wobble.
By using the diamond drill and gradually adjusting the angle of the drill, you can ensure that your bathroom mirror is attached securely without damaging the tiles.
Our experience: The diamond drill bit is the undefeated leader for tear-free drilling of tiles of any hardness. With HEX recording, it can also be used by beginners.
3. Attach mirror without drilling
If you prefer to work without drilling, there are reliable solutions for this as well.
Here are two methods you can use:
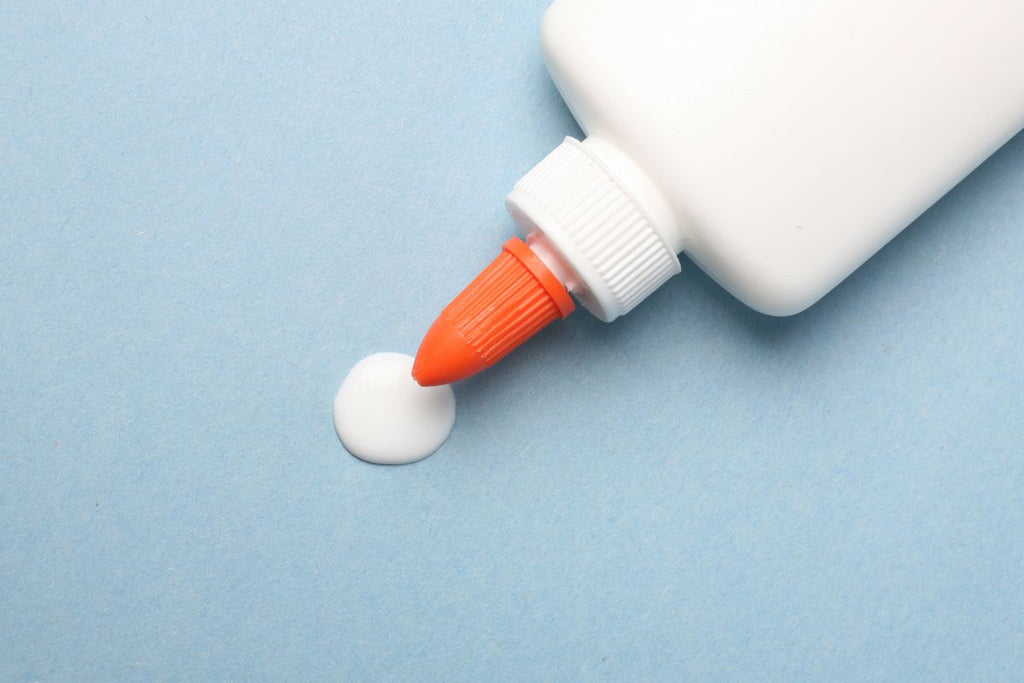
3.1 Use assembly adhesive
-
Prepare the ground:
Thoroughly clean the back of the mirror and the wall to ensure the mounting adhesive sticks well. Allow both surfaces to dry completely. -
Apply glue:
Apply the mounting adhesive to the back of the mirror in even stripes or dots. Be careful not to apply the glue too close to the edge to avoid oozing. -
Position mirror:
Press the mirror onto the wall where you want it and hold it in place for a few seconds until the glue starts to stick. -
Let harden:
Allow the assembly adhesive to cure according to the manufacturer's instructions. This can take several hours or even days depending on the product.
3.2 Use double-sided tape
-
Prepare the ground:
Thoroughly clean the back of the mirror and the wall to ensure the tape sticks well. Allow both surfaces to dry completely. -
Attach tape:
Cut the double-sided tape into matching strips and apply to the back of the mirror. Make sure the ribbon doesn't stick out over the edge. -
To remove the protective foil:
Remove the backing from the sticky side of the tape. -
Position mirror:
Press the mirror onto the wall where you want it and hold it in place for a few seconds until the tape sticks.
4. Tips for maintaining and cleaning the mirror
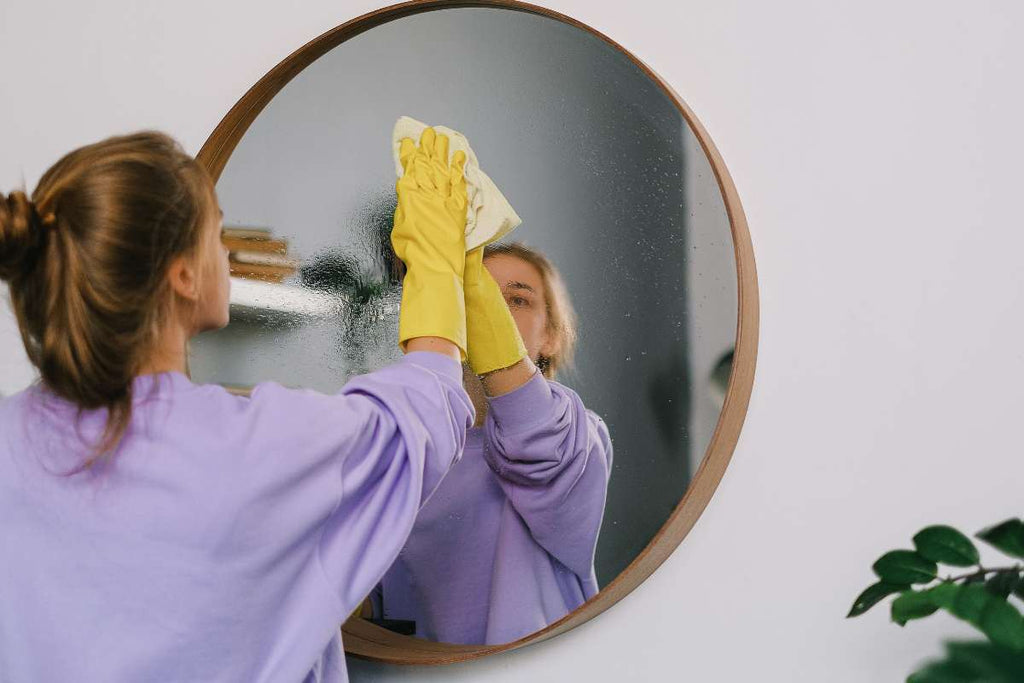
To ensure that your mirror stays beautiful for a long time and does not show any damage or dirt, note the following care and cleaning tips:
- Use a soft, clean cloth or microfiber cloth to clean the mirror.
- Avoid harsh or abrasive cleaning products as they can damage the mirror's surface.
- Do not spray detergent directly onto the mirror, instead spray it onto the cloth to prevent moisture from getting in behind the mirror.
- Clean the mirror regularly to remove dust and dirt and prolong the life of the mirror.
Now you have all the information you need to professionally attach your mirror to the wall and enjoy it for a long time.
Choose the method that's right for you and follow the detailed instructions to get the best result.
5. Common mirror mounting problems and solutions
There can be a few challenges when mounting a mirror.
Here are some common problems and their solutions:
5.1 The mirror hangs askew
If the mirror is hanging askew, first check the mounting points on the wall and make sure they are level.
A spirit level can help determine the exact position of the drill holes or glue points. Correct the position of the attachment points if necessary and hang the mirror again.
5.2 The mirror falls down
If the mirror falls off the wall, it may be due to improper attachment.
When fixing with drilling, the dowels and screws should be matched to the mirror and the type of wall. When mounting without drilling, it may be that the mounting adhesive or the double-sided adhesive tape does not adhere sufficiently.
In this case, you should clean the surface more thoroughly and let it dry before you reattach the mirror.
5.3 The mirror fogs up
Misted up mirrors are often found in damp rooms like bathrooms.
To prevent this, you can use a special mirror with a heater or an anti-fog coating.
Another option is to ensure adequate ventilation in the room and to dehumidify the room air after showering or bathing.