Laying tiles on the balcony: a step-by-step guide
By laying tiles on the balcony, you can enhance the look of it and increase the value of your property.
Difficulty: Medium | Costs for 20m²: approx. 150 euros | Workload for 20m²: approx. 8 hours

A well-kept balcony enhances every home.
But what to do if the floor covering on the balcony shows cracks or you just don't like it anymore?
Tile is an excellent choice. They are weatherproof and offer a variety of design options.
Here I show you how to lay tiles on your balcony.
1. Materials and Tools

To lay tiles on the balcony you need:
- tiles of your choice
- tile glue
- grout
- A bucket and whisk for mixing the tile adhesive and grout
- notched spatula
- tile cutter
- rubber mallet
- spacers
- sponge board
- Desired laying pattern
- Cutting disc for tiles
- angle grinder
1.1 Estimated cost overview for your balcony project
| Article | Estimated costs |
|---|---|
| Tiles (per m²) | 20 - 60€ |
| Tile adhesive (25 kg) | 25 - 40€ |
| Grout (5 kg) | 10 - 20€ |
| Bucket | 5 - 10€ |
| whorl | 10 - 20€ |
| notched spatula | 5 - 10€ |
| tile cutter | 50 - 200€ |
| rubber mallet | 10 - 20€ |
| spacers (100 pieces) | 2 - 5€ |
| sponge board | 5 - 10€ |
Very Important: Please note that actual costs can vary widely depending on the quality of the materials, retailer prices and the size of your project.
2. Preparation of the substrate for laying the tiles

Before you can start laying the tiles, the subfloor must be prepared.
Check the following:
- Remove all old deposits and clean the area thoroughly.
- If the surface is uneven, you may need to apply leveling compound or grind down the concrete with an angle grinder .
- Let the subfloor dry completely before you start laying.
Ground preparation tools
3. Laying the tiles on the balcony
-
Mixing the tile adhesive: Mix the tile adhesive according to the manufacturer's instructions.
-
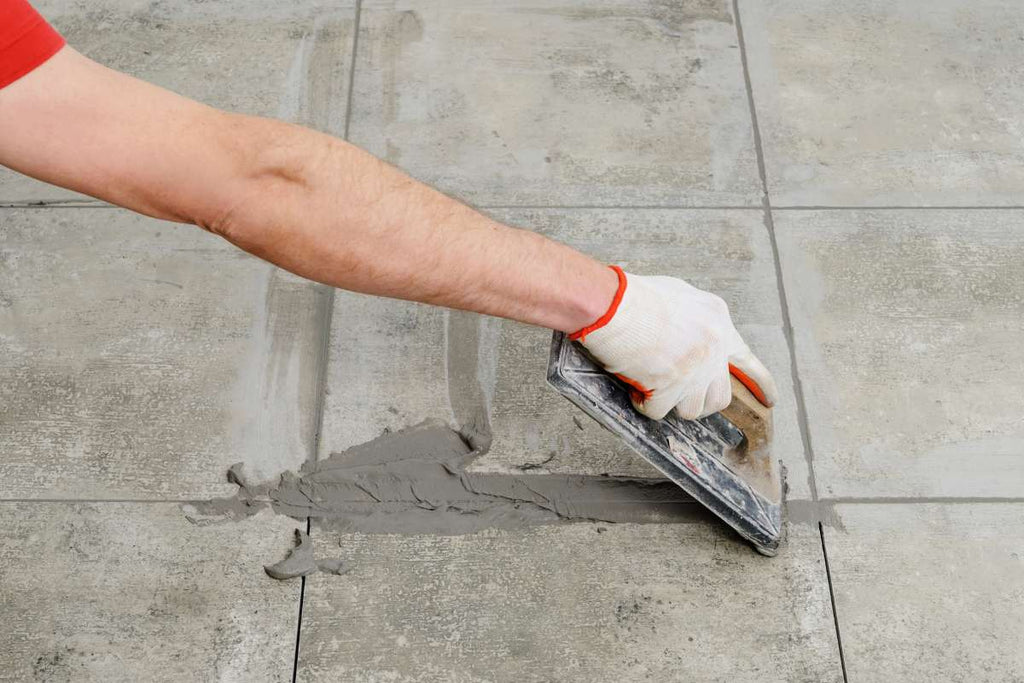
Applying the tile adhesive : Use the notched side of the trowel to apply the tile adhesive to a small area of the balcony. Make sure the glue is evenly distributed.
-
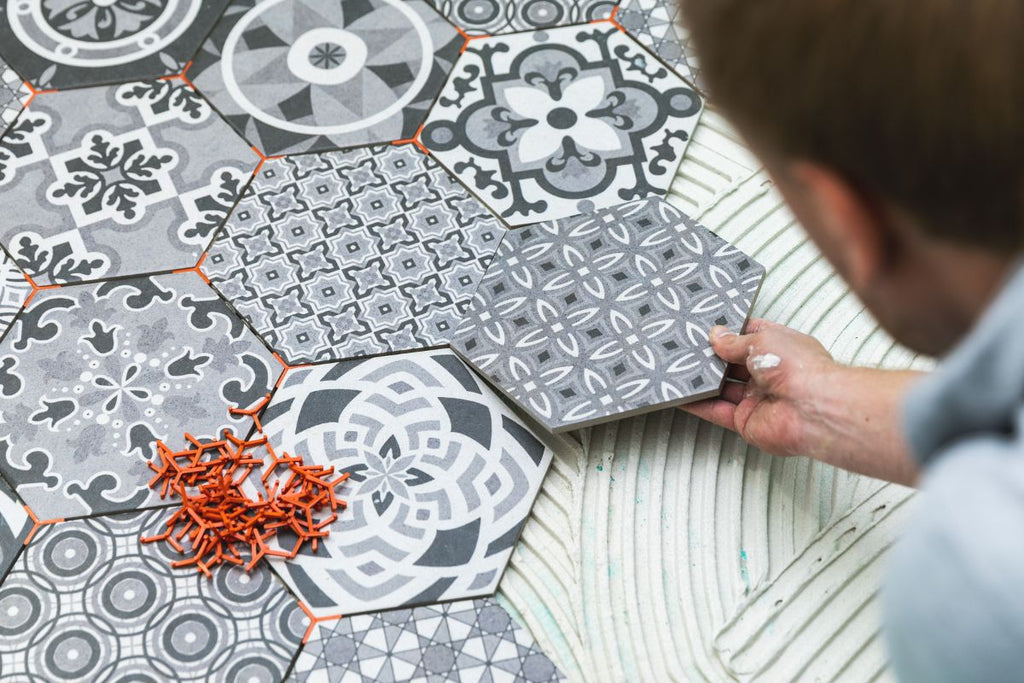
Laying the first tile: Lay the first tile in the still wet tile adhesive. Use the rubber mallet to gently tap the tile into the adhesive. Make sure the tile is level.
-
Laying the tiles further: Lay the next tiles in the same way. Use the tile spacers to make sure the spacing between the tiles stays the same.
-
Cutting Tiles : If you need to lay tiles around the edge of the balcony or around obstacles, you will likely need to cut some tiles. Use the tile cutter or an angle grinder with a tile cutting disc .
4. How can I grout the tiles after laying them?
After the tile adhesive has dried, you can start grouting.
-
Mixing the grout : Mix the grout according to the manufacturer's instructions.
-
Applying the grout : Apply the grout to the tiles with a squeegee. Make sure all joints are completely filled.
-
Removing the excess grout : After the grout has dried a bit, you can use a sponge board to remove the excess grout. Be careful not to apply too much pressure to avoid washing out the grout.
-
Allow to dry: Allow the grout to dry completely.
Congratulations, you have successfully laid tiles on your balcony! With a little patience and care, you can transform your balcony into a true oasis of well-being.
Our tip: Use the Iynx Tools Joint Calculator to calculate your joint compound needs.
5. Maintenance and care of the balcony tiles

Now that your tiles are in place, it's important to care for them properly to extend their life and keep them looking beautiful.
-
Regular cleaning: Clean your tiles regularly with warm water and a mild detergent. Avoid abrasive cleaning products that could damage the tile surface.
-
Sealing the joints : Consider sealing the joints to protect them from moisture and dirt. There are special products on the market that are suitable for this.
-
Winter care: In winter you should remove snow and ice from the tiles as soon as possible to avoid frost damage. Road salt can damage the tiles, so it is better to use alternatives.
6. Avoid common mistakes when laying tiles on the balcony

When laying tiles on the balcony, some mistakes can occur.
Here are a few to avoid:
-
Uneven sub-floor: An uneven sub-floor can result in the tiles not fitting properly. Make sure the surface is level and clean before you begin. Grind off excess concrete or screed material with the angle grinder . Alternatively, you can lay the tiles using the thick-bed method without subfloor preparation.
-
Incorrect joint width: If the joint width is too small, the tiles can crack when the temperature fluctuates. Make sure to keep the correct joint width.
-
Not enough drying time: Give the tile adhesive and grout enough time to dry. If you start grouting too soon, the tiles can shift.
Laying tiles on the balcony takes time and patience, but the end result is worth it. With this guide you are well prepared to successfully complete your project. I wish you success!
7. Before - after comparison of the balcony