
Preparing the subfloor for tiling - All information
Preparing the subfloor is just as important as laying the tiles. We'll show you what to look out for.
Tile is a popular choice for flooring and wall coverings in many areas of the home, particularly bathrooms, kitchens and entryways.
In order to achieve a professional result, it is important to properly prepare the tiling substrate.
In this article you will learn how to check and prepare the subfloor for a durable and attractive tile surface.

1. Materials needed and estimated cost
| tool/material | Average cost |
|---|---|
| tiles | 15-50 €/m² (depending on quality and type) |
| tile glue | 10-25 €/25 kg bag |
| grout | 5-15 €/5 kg bag |
| primer | 15-30 €/5 liters |
| balancing mass | 20-40 €/25 kg bag |
| sealing material | 30-60 €/5 kg container |
| decoupling mat (if required) | 4-10 €/m² |
| notched trowel | €5-15 |
| tile crosses | 3-10 €/100 pieces |
| rubber mallet | 10-20€ |
| tile cutter | 30-200 € (depending on quality and size) |
| sponge board and bucket | 10-20€ |
| joint smoother | 3-8€ |
| smoothing trowel and stirrer | 20-50€ |
Please note that the prices given are only average values and may vary depending on the manufacturer, quality and local prices.
It is also important that you calculate the exact materials and tools you will need before beginning your tiling project to avoid unnecessary expenses.
Our tip: Make a shopping list and try to negotiate as many discounts as possible.
2. Check tile subsurface
Before you start preparing the subfloor, you need to make sure the subfloor is suitable.
2.1. Determine and prepare the type of substrate
Check the substrate on which the tiles are to be laid.
He can from:
- concrete
- screed
- plasterboard
or any other surface.
Make sure the subfloor is stable, firm and stable.
Helpful advice on substrate preparation:
2.2. control humidity
The substrate should be dry to ensure adhesion of the tile adhesive.
In damp areas such as bathrooms, additional waterproofing is required to prevent water damage.
3. Prepare the substrate
Once you've checked the ground, you can start preparing.
3.1. clean surface
Thoroughly clean the surface of dust, dirt and loose materials to ensure good adhesion of the tile adhesive.
Our experience: With bathroom renovations, it is worth sanding the surface with a diamond cup wheel . It removes all material residues without any problems and more cost-effectively than any other tool.
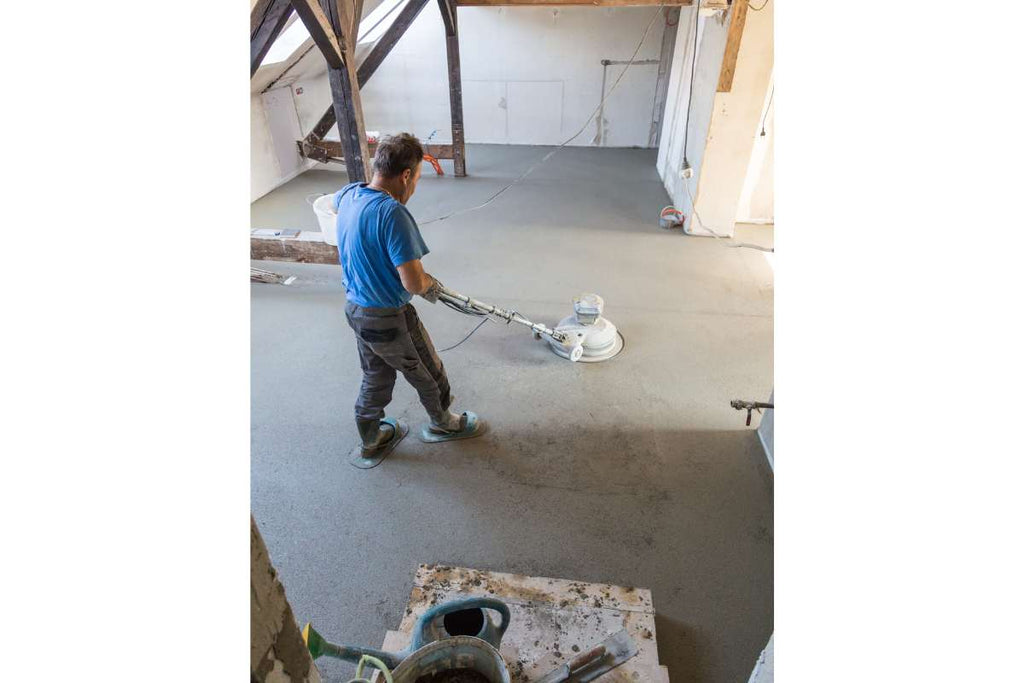
3.2. even out unevenness
Check the subfloor for bumps and bumps. If necessary, use a leveling compound to smooth and level the surface.
Ground grinding tools
3.3. Fill cracks and holes
Fill cracks and holes in the substrate with a suitable filler or putty to create a level surface for the tiles.
4. Apply primer
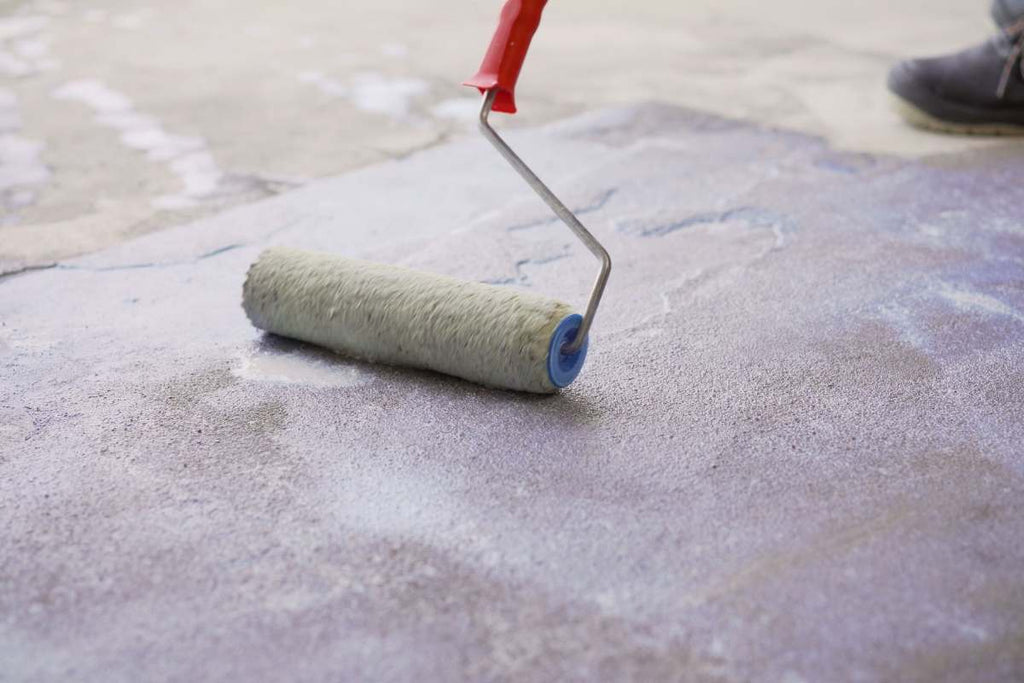
Apply a suitable primer to the substrate to improve adhesion of the tile adhesive and reduce the absorbency of the surface.
Our tip: Let the primer dry according to the manufacturer's instructions. Please note this information. Otherwise you can cause damage that is very expensive to improve.
5. Use leveling layer
In some cases a leveling layer may be required to create a level base for the tiles.
This layer consists of a self-levelling compound that is applied to the prepared substrate and forms a level surface for tiling.
6. Sealing in wet rooms
Additional waterproofing is required in wet areas such as bathrooms and showers to prevent water damage.
Apply a suitable caulk to the prepared substrate and allow to dry according to the manufacturer's instructions.
7. Choose tile adhesive
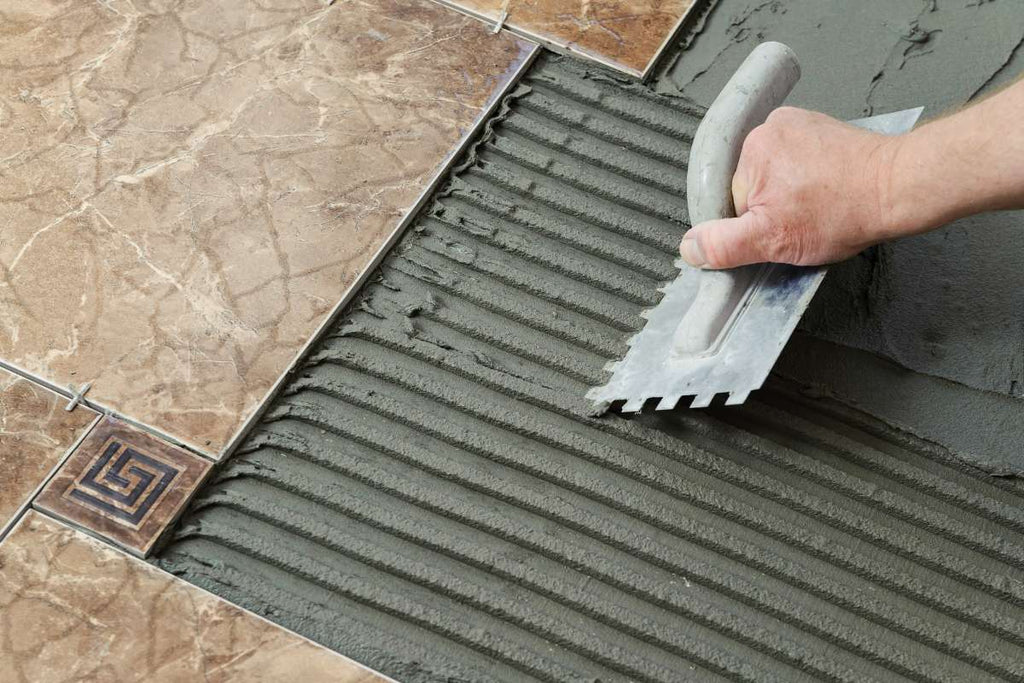
Choose the right tile adhesive for your substrate and the type of tiles you want to lay. Be sure to choose an adhesive that is appropriate for the intended use and environmental conditions.
8. Lay the tiles after preparing the subfloor

As soon as the subfloor is prepared, you can start laying the tiles.
8.1. planning and arrangement
Plan the placement of the tiles carefully to create a pleasing and even pattern. Be sure to order enough tiles and installation materials to cover the entire area.
8.2. Determine laying pattern
Choose a laying pattern that suits your space and the style of the tiles.
Popular patterns are:
- the staggered pattern
- the herringbone pattern
- diagonal pattern.
9. Apply grout

After the tiles are laid, apply grout to fill in the gaps between the tiles for a clean, professional finish.
Allow the grout to dry and remove excess material.
10. Theses
Once the tiles and grout have dried, you can do the finishing work.
This includes:
- the grouting of corners and transitions
- cleaning tile surfaces
- applying an impregnation to protect the tiles and joints from dirt and moisture.
11. Conclusion - A clean substrate preparation helps when laying tiles
Proper preparation of the tile substrate is crucial for a long-lasting and attractive result.
By carefully following the steps outlined in this article, you can ensure your tiles look professional and last for years to come.
Remember to thoroughly inspect, prepare and seal the subfloor if necessary for best results.
FAQs - What do I have to pay special attention to when preparing the substrate?
Can I lay tiles on a wooden subfloor?
Yes, tiles can be laid on a wooden sub-floor, but the sub-floor must be sufficiently stable and solid. It is important to use a suitable decoupling mat to prevent tension between the wooden substrate and the tiles.
How long does it take for the tile adhesive and grout to dry?
Drying time may vary depending on the type of tile adhesive and grout. In general, the drying time for the tile adhesive is 24 to 48 hours and for the grout 24 hours. However, refer to the manufacturer's instructions for exact drying times.